Created by Historic Deerfield Museum Education Staff Members, Claire Carlson and Faith Deering.
Welcome to Week Four of Maker Mondays from Historic Deerfield. Check your social media feed or look for an email from us every Monday for a fun activity that you can do at home, inspired by history and using common household items.
Download a PDF of this activity.
Inspired by Spring Flowers
This week’s Maker Monday is inspired by spring flowers.
We hope you have been enjoying our Maker Mondays projects. This Monday we want to share some objects from our collection that are decorated with images of beautiful flowers and offer you a fun project idea to try at home.
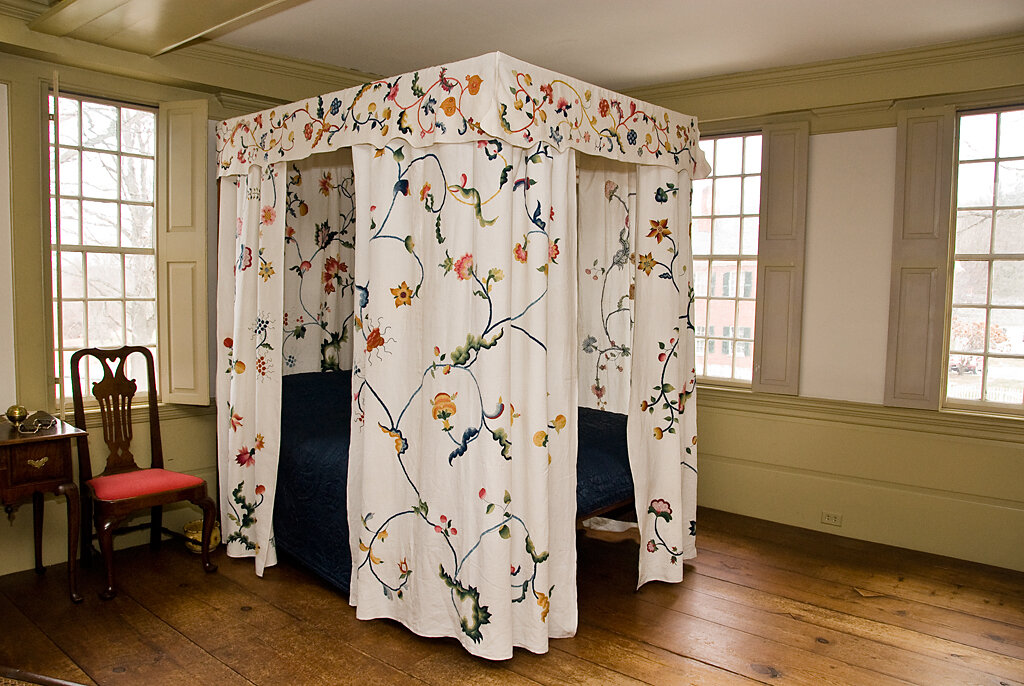
Where can you find flowers at Historic Deerfield? The answer is: everywhere. Flowers decorate tea cups, dresses, samplers, and furniture. Historic Deerfield’s collection of American decorative arts objects is filled with items decorated with flowers or floral imagery.
HD 2008.3
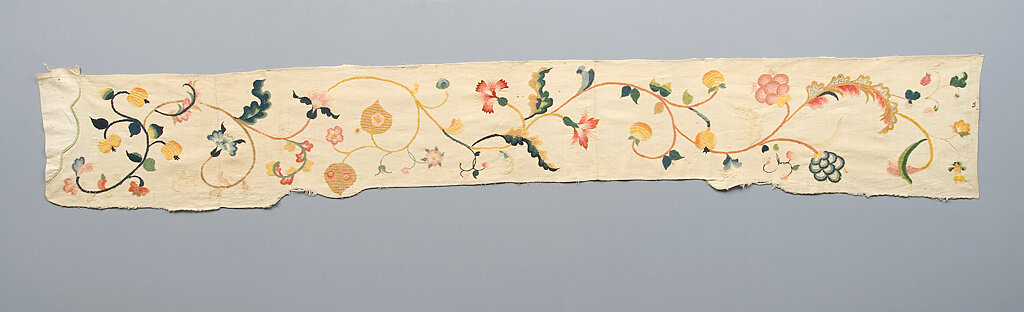
This shaped valance is part of a set attributed to Mary Ballantine of Westfield, Massachusetts, who probably made it on the occasion of her 1766 wedding to General John Ashley (1736-1799) of Sheffield, Massachusetts. The skills Mary learned as a young girl while making samplers and pictorial needlework prepared her for such an ambitious undertaking as an adult, which included drawing the design on linen, and embroidering a meandering floral and vine pattern using a variety of stitches.
You can read more about the floral designs used on textiles that were made into clothing in the blog by Ned Lazaro, Curator of Textiles
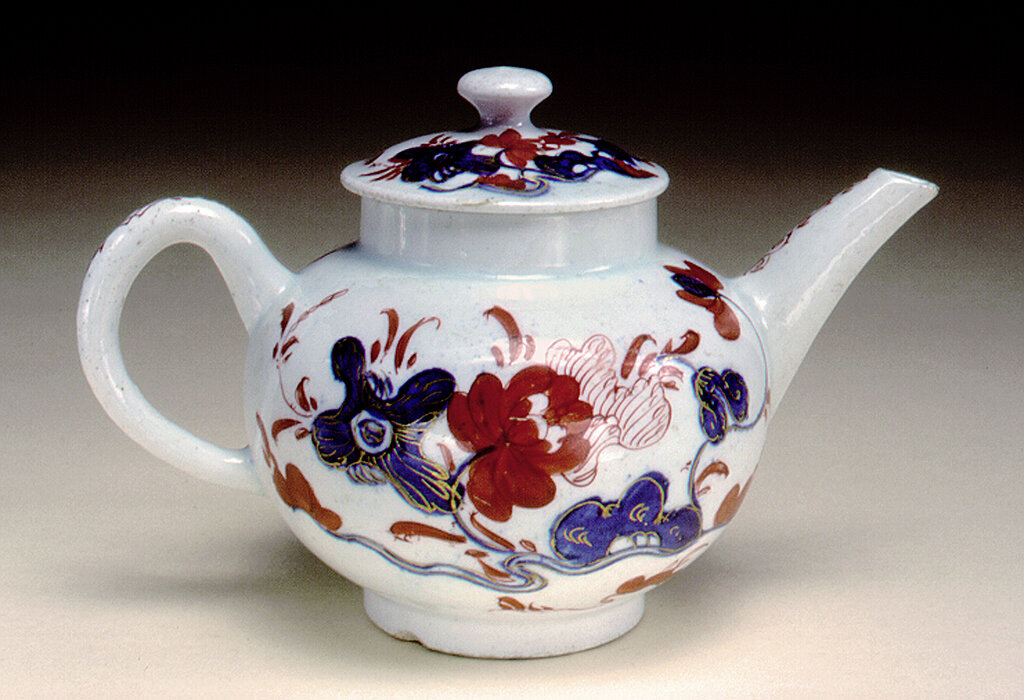
Flowers also adorn and decorate ceramics used in the home like tea wares and sets of dinnerware.
HD 2000.24.5
This is an English teapot made sometime between 1747 and 1752. This example was made in the Bow Porcelain Works, copying a Chinese Imari original (a style originating in Japan and copied by the Chinese) with its painted Imari decoration of rocks and flowers in blue, red, and gilding on both the body and lid.
HD 54.206
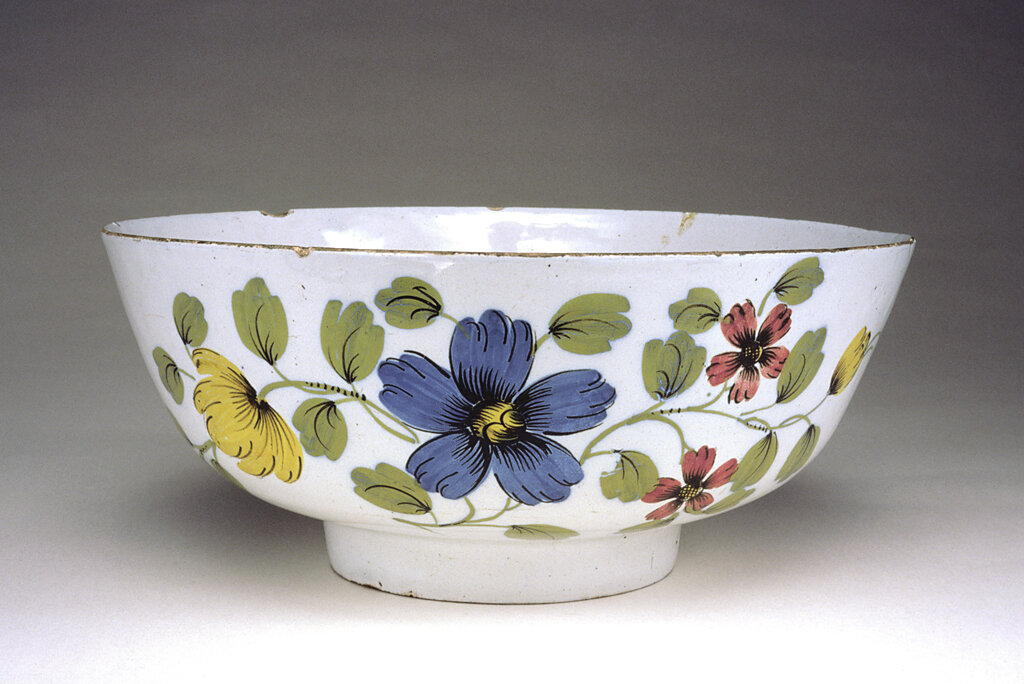
This beautiful punchbowl was made in England or Ireland sometime between 1756 and 1759. It is tin-glazed earthenware with floral decoration in blue, yellow, red, and green.
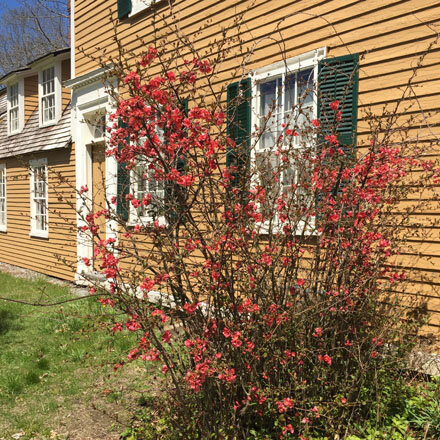
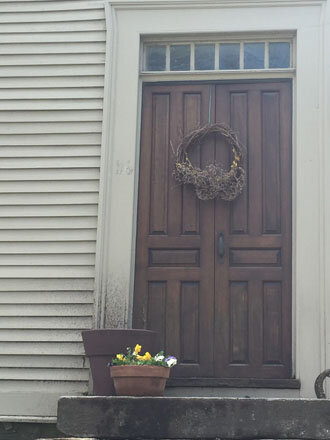
The village of Old Deerfield is also bursting with blooms in late April and early May. Here are a few images from a recent walk down Old Main Street.
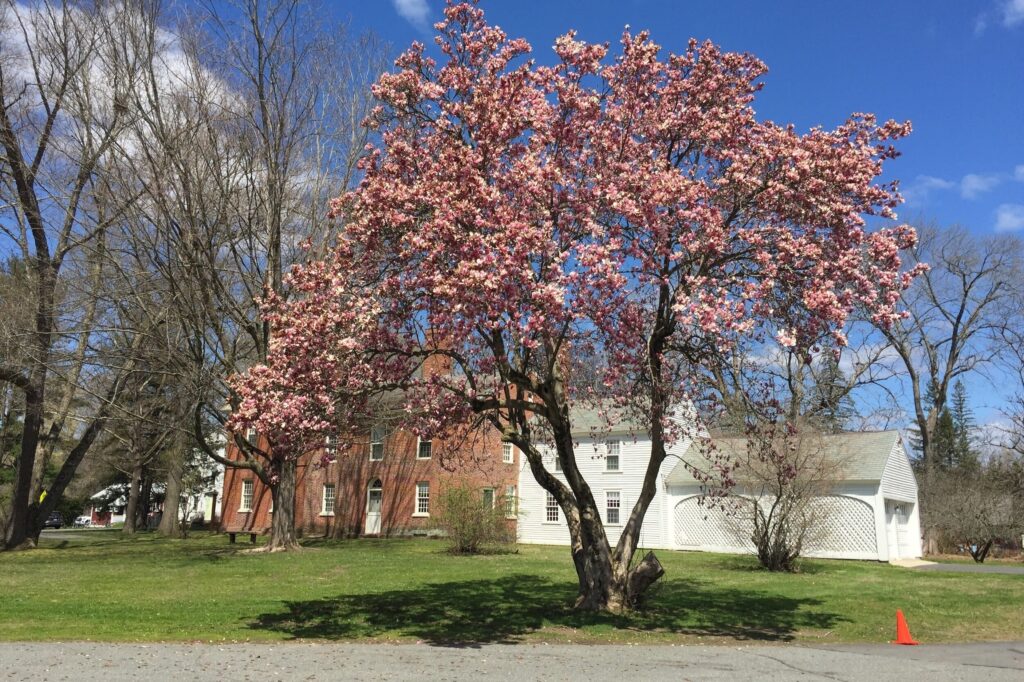
Magnolia tree in full bloom on the south lawn of the Asa and Emilia Stebbins House.
Buds and Blossoms: Inspired by Flowers
Throughout time, people have been inspired by the beauty of flowers. Joyful times are celebrated with flowers and flower arrangements are given in times of sadness. Long ago, friends presented each other with special bouquets called “Tussie Mussies” to convey a message: each flower in the bouquet symbolized a word or an emotion. Pressing flowers in between the pages of a book was also a way to preserve the beauty of a blossom. Images of flowers have been painted, carved, embroidered, sculpted and printed on paper, wood, ceramics and cloth.
We wanted to show you an easy way of capturing the ephemeral beauty of flowers. Below, you will find step-by-step directions for making a flower print by pounding the petals. This is not an historic method, but is something you can have fun doing, and it uses things you may have around your home and outside. It does chime with historic interest in floral decorations, however.
The first step is to go outdoors and pick some flowers. You won’t need many, and please be sure you have permission to pick the flowers! Once you have some bright blossoms, put them into a vase so they won’t wilt. Collect the other materials you will need and find a good place to do your pounding: outdoors on a porch step, a wooden picnic table, indoors on a hard wooden board, or maybe your basement floor.
You will need:
Flower blossoms. Petals with dark pigments are especially good: purple, blue and yellow. Also, stems of grass and some leaves print very nicely.
Hammer
An old bath towel
White cotton or linen cloth (an old sheet, a handkerchief, a napkin)
Wax paper
Scissors
Ruler
Fun with Flowers: Pounded Flower Art
Johnny Jump-Ups are in the violet family. They pop up everywhere in the spring! Other names for them are viola tri-color and heart’s ease (because they are thought to be good for treating ailments of the heart and lung). Thomas Jefferson had these pretty flowers in his gardens at Monticello. They are also the perfect flower for a fun art project.
Please note: this project is inspired by spring flowers and the beautiful objects in our museum collection. It is not an art technique that was done in the past here in Deerfield.
Step by Step Instructions for Pounded Flower Art:
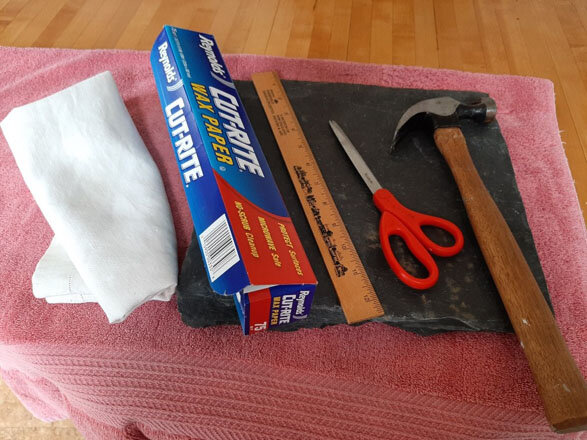
Gather your supplies — old bath towel, two pieces of white cloth, wax paper, ruler, scissors, hammer.
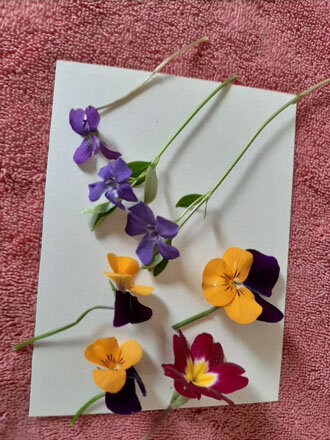
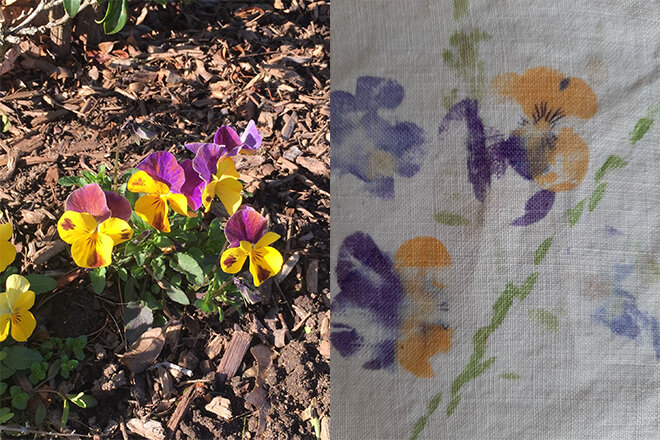
Select the flowers you want to use for your print and trim stems and other thick flower parts so you can place the blossom flat on the cloth. Freshly-picked violets and pansies work very well.
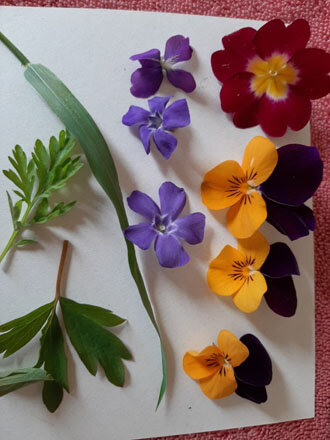
Trim the flowers and add some leaves or grass, too.
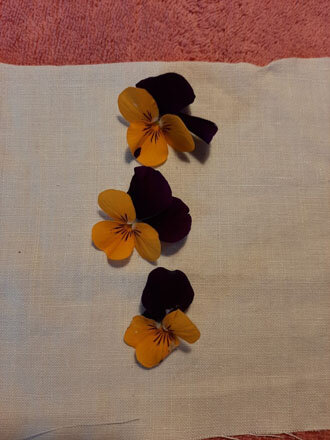
Place an old towel on a sturdy surface like the driveway or garage floor. An old cutting board also works. Place a piece of white cloth on the towel. Create a pleasing arrangement of your blossoms on the cloth. This is the time to add some grass or leaves to the arrangement. You can use the ruler to help line things up if you like.
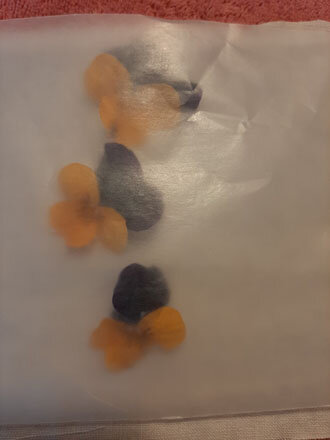
Cover the blossoms with a piece of wax paper.
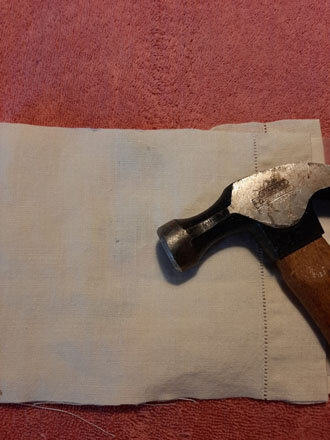
Cover the wax paper with another piece of cloth and gently pound the flowers using the hammer. Tap the hammer up and down, making sure you are hitting the cloth exactly where the blossoms are located. Keep tapping for at least two minutes.
By pounding the flowers, you are transferring their pigment to the piece of white cloth that is under the wax paper. Have fun bashing and banging. Be careful not to hit your fingers.
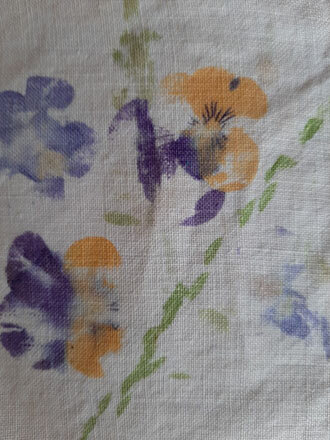
Carefully remove the top layer of cloth, then very gently peel the wax paper from the blossoms. You will notice that the crushed blossoms will stick to the wax paper. This is good and will help you to remove any of the left- over crushed petals.
Voila! You should see a colorful print of your blossoms on the piece of cloth.
Please note: we had to practice a few times before we learned exactly how firmly to pound the blossoms and exactly how to arrange them under the waxed paper. However, we loved all of our results and had fun doing it!
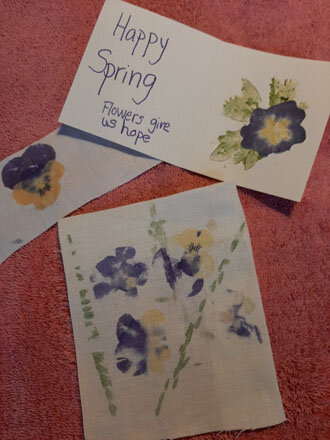
Some finished projects ideas. We tried substituting paper for the cloth and found that thick watercolor paper worked best. You can try it with cardstock, too. We made small greeting cards with our flower printed paper.
Some closing thoughts:
In addition to flower images being used in decorative arts, flowers have always been a popular subject for writers. The poet Emily Dickinson is especially well-known for her poems about flowers. Here is one of our favorites:
Pink, small, and punctual,
Aromatic, low,
Covert in April,
Candid in May,
Dear to the moss,
Known by the knoll,
Next to the robin
In every human soul.
Bold little beauty,
Bedecked with thee,
Nature forswears Antiquity
The Emily Dickinson Museum is located in Amherst, Massachusetts. Here is a link to the museum’s wonderful website. You can find out about the poet’s life as well as read many of her poems: emilydickinsonmuseum.org
We hope that you have been inspired by flowers and will take some time to do this project, send a note to a friend, or write a poem.