Created by Historic Deerfield Museum Education Staff Members, Claire Carlson and Faith Deering.
Welcome to Maker Mondays from Historic Deerfield. Check your social media feed or look for an email from us every Monday for a fun activity that you can do at home, inspired by history and using common household items that you may have in your home.
While you are learning from home, try this fun activity. Make your own homemade ink and “old” paper from things you can find around your house. Please note: This is a two day activity. One day to make the paper and let it dry, the second day for writing on the dry paper and making the ink.
Download a printable version of this activity (PDF)
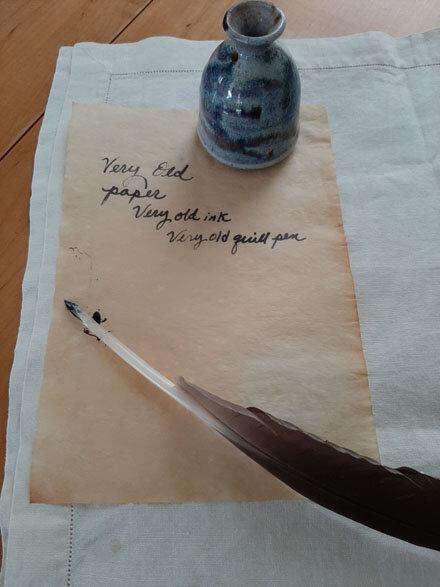
Writing with a Quill Pen
Since ancient times, humans have made marks on clay, wax and thin leather called vellum. A pointed stick, a sharpened bone, or the tip of a feather have all been used by humans to communicate.
Over time, feathers became some of the most useful tools for writing. In fact, the English word “pen” comes from the Latin word Penna, or feather. The word “quill” means “hollow reed.” The tip of a bird feather is hollow. The flight feathers from a goose wing have always been a favorite choice for making a quill pen.
In the colonial period, many people in Deerfield wrote with quill pens. Children went to school to learn to read, write, and do math. On their desks they would have a small bottle of ink called an inkwell and a quill pen.
Writing with a quill pen is not easy. Children had to spend many hours practicing their writing in order to make the letters look neat. The ink they used was often made by boiling black walnut hulls (the outer soft part that covers the shell) with salt and vinegar. The salt and vinegar helped the ink stick to the paper and also acted as a preservative so that the ink stayed fresh.
If you follow the directions below you can find out how it felt to write letters long ago. Most people do not have quill pens and an inkwell in their homes but we have suggested some substitutes. Be creative and have fun!
When you have finished, take a picture and email it to historicdeerfield@historic-deerfield.org so we can share your creation with the world. When Historic Deerfield reopens, please come to the History Workshop and share your magic with us!
Make Your Own Homemade Berry Ink and Fake Old Paper
Use Things You Can Find at Home!
Homemade Berry Ink
Recipe
½ cup fresh or frozen thawed berries (strawberries, blackberries or raspberries work best)
½ teaspoon vinegar
½ teaspoon salt
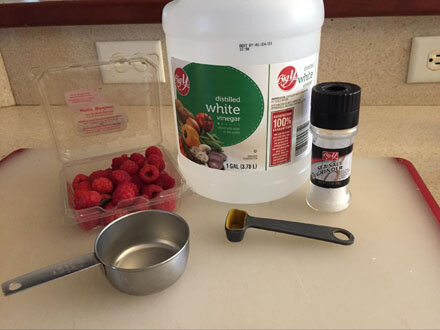
You will need
½ cup measuring cup
½ measuring teaspoon
1 bowl
1 strainer
1 small metal spoon
Directions
Measure and crush the berries
Put the berries into a strainer and crush the berries with the back of a metal tablespoon. Place a bowl under the strainer before you start. As you crush the fruit, stop and scrape the liquid off of the bottom of the strainer and put into the bowl.
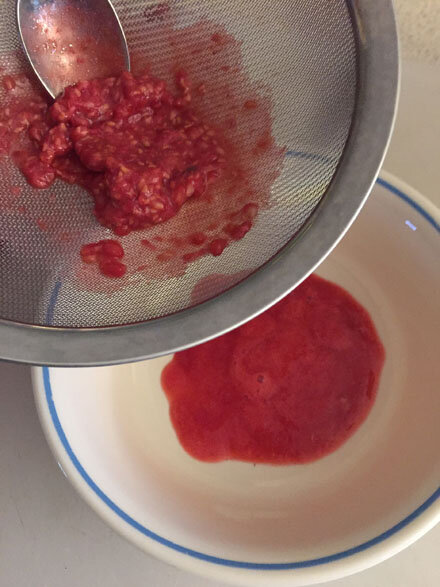
Discard the bits and seeds that are left in the strainer.
Add the vinegar and salt to the berry liquid. Then push it through the strainer a second time.
Let the ink set for 20 minutes.
Put the Berry Ink into a small plastic or glass container. It is now ready to use!

Homemade Fake Old Paper
You will need
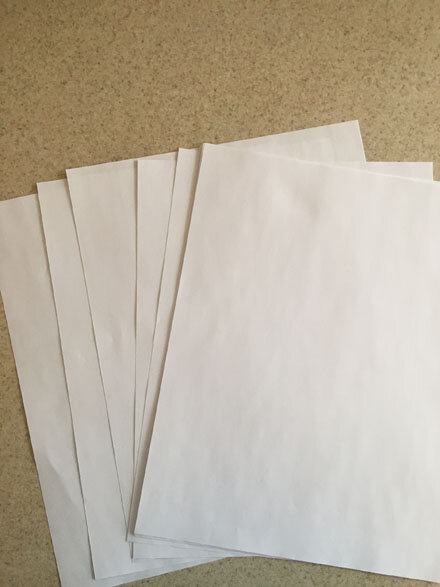
5 pieces of regular white printer/photo copier paper
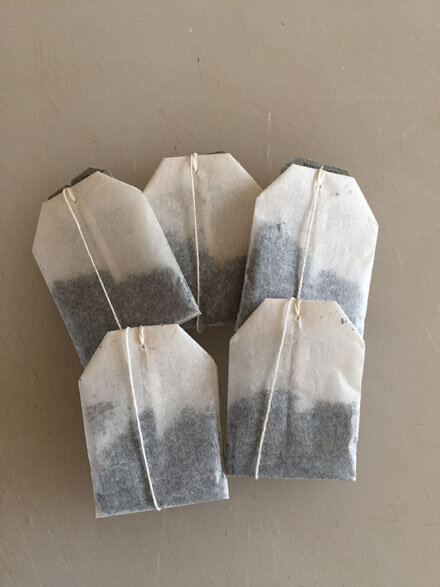
5 tea bags (regular black tea)
Hot Water
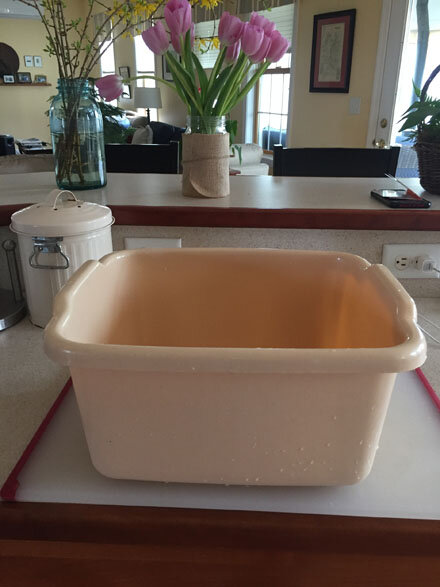
1 plastic dish pan or equivalent
Wooden spoon
Old bath towel
Step by Step Directions Below:
Step 1: Get the paper
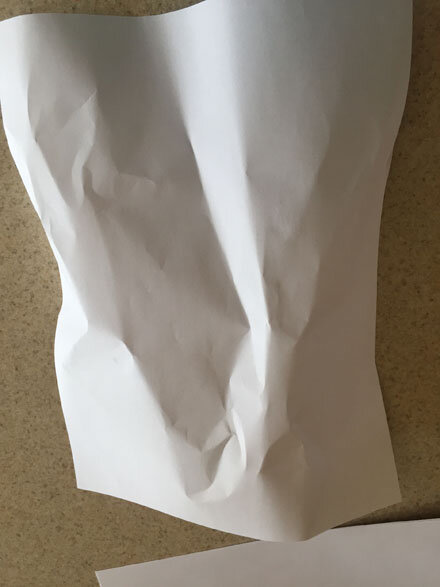
Step 2: Gently crumple each sheet of paper
Step 3: Put the 5 tea bags in the plastic dish pan.
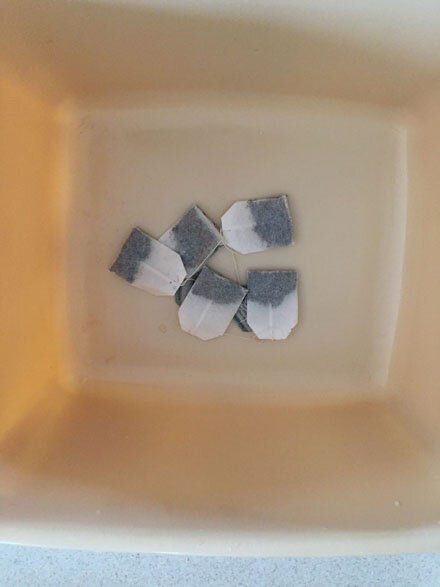
Step 4: Cover the tea bags with about 3 inches of very hot water (NOTE: Kids please ask an adult to help with the hot water).
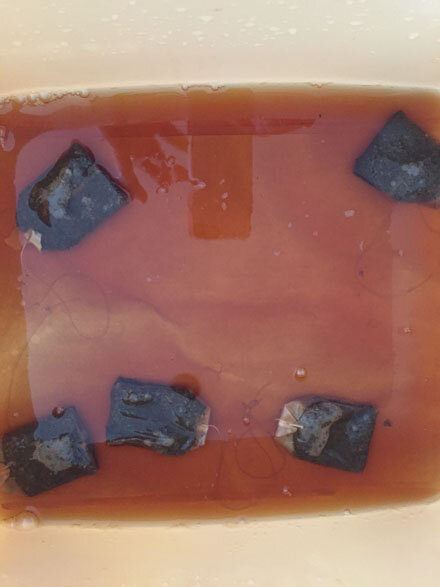
Note: Let the tea steep or brew for about 20 minutes and until the water is cool
Step 5: Remove the tea bags and set them aside for later use. Place the first piece of paper gently into the tea water.
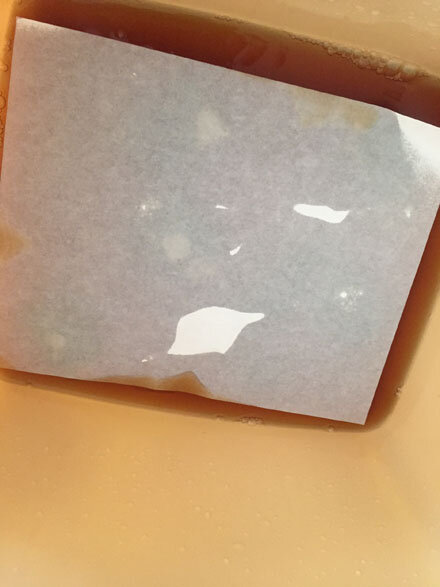
Step 6: Place the rest of the paper into the tea water, one piece at a time, until all 5 pieces are under the water. You can use a wooden spoon to press the paper under the water
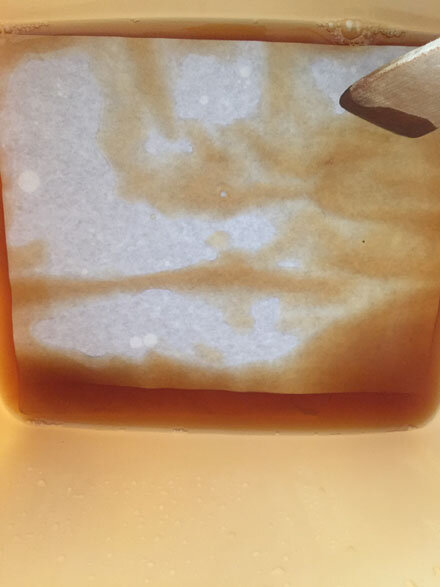
Step 7: Put the 5 tea bags back in the water to weigh the paper down. Leave the paper in the water for at least 2 hours.

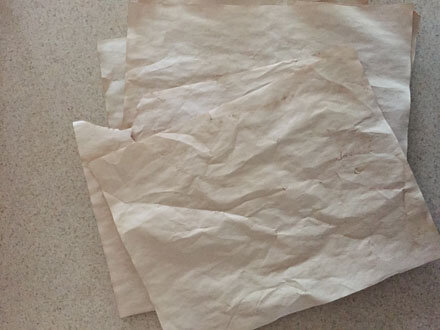
Step 8: When the paper is ready, carefully remove it one sheet at a time and place it flat on an old bath towel to dry. Go very slowly and carefully as the wet paper can tear.

Step 9: Let the paper dry overnight until it is completely dry.
Step 10: Your Fake Old Paper is now ready to use!
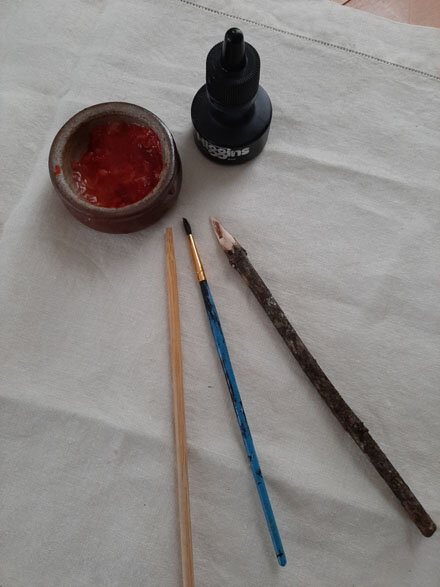
Quill Pen Substitute:
There are many things you can find in your home or outside in your yard to use as a pen. A small, dry stick works just fine. Try using the blunt end of a wooden barbeque skewer. A chopstick also works well, and so does a real feather. However, if you use a feather it should be one you have in your house, not one you pick up outside.
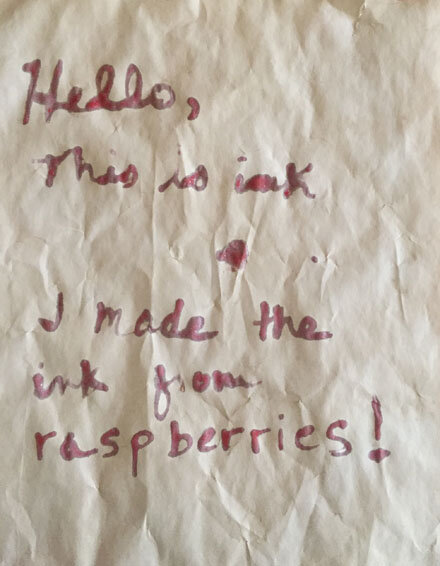
Once you have your pen, you are ready to write! You can dip it in your homemade ink. Dip carefully and be sure to wipe the tip of the pen on your ink jar to remove any blobs of ink. Find a flat, smooth surface to work on so your ink does not drip. Write slowly, paying attention to each letter. The ink will be wet and sticky when you finish so be sure to let it dry completely before you move your paper. It took about an hour for the ink to dry on my paper.
A Few More Suggestions:
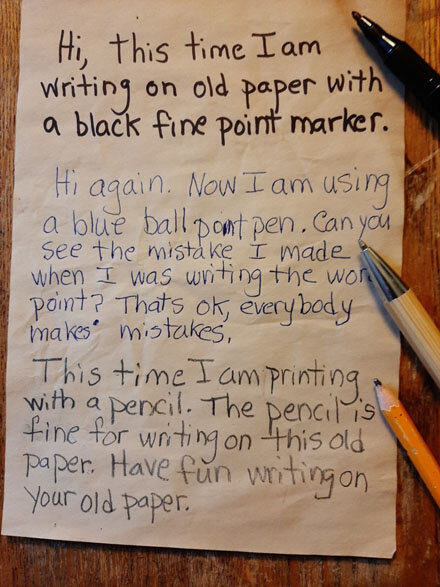
I loved the old looking paper I made so I tried writing on it with a black fine point marker, a blue ballpoint pen and a pencil. I also tried using a thin, pointed watercolor paintbrush. It was interesting to see how each one looked on the paper. You can be creative and try various things to use as a substitute quill pen.