Created by Historic Deerfield Museum Education Staff Members, Claire Carlson and Faith Deering.
Welcome to Week Five of Maker Mondays from Historic Deerfield. Check your social media feed or look for an email from us every Monday for a fun activity that you can do at home, inspired by history and using common household items.
Download a PDF of this activity.
Today’s Maker Mondays offering will be part one of a two-week activity. Today, we will show you how to make a journal. Next Monday we will explain some methods of journal writing and share samples of journals from Historic Deerfield’s archives. While you are making your journal this week, you can think about what you would like to put in your journal.
The most common idea of a journal is some kind of daily writing. In fact, the word journal comes from the French word jour, meaning day. Reading an old journal gives the reader a very personal view of the past. These journals become important historical records. Next week, we’ll explore different styles of journaling. For now, try making one at home!
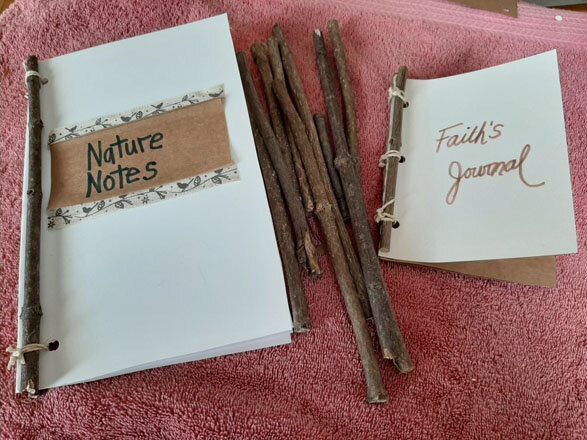
Very easy and simply, a blank notebook can be used as a journal. In the photos and directions below, we show you a fun method of making a journal with things you can find around your home. Look at the photos and read the directions and you will see why we have called this a “Stick-Bound Journal.”

Directions: This is a project that will take you outdoors to look for sticks and indoors to search for some supplies and simple tools. Some steps in this project are easier if two people work together.
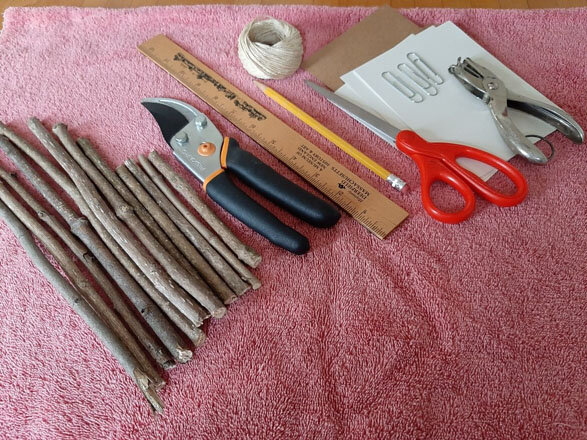
Supplies and Tools
Step 1:
Collect dry sticks. You should look for straight, firm sticks without knobs or buds along the side. Choose sticks about 12 inches or shorter that will be easy to carry back into your house
Step 2:
Once you are home, you can look for paper for the journal cover and pages. Oaktag, heavy construction paper, or lightweight cardboard are good choices for the front and back covers. Computer paper, lined notebook paper, or brown paper bags are suggestions for journal pages. Use what you can find around your house.
Step 3:
You will need the paper, ruler, and scissors for this step. Decide on the size you want your journal to be. Measure your cover paper and the paper you will use for the pages. Cut the paper.
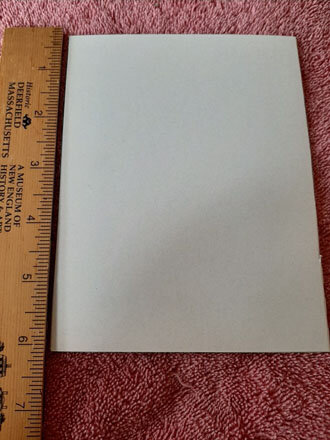
Measure and cut the paper to desired length. This journal will be 6 inches long.
Step 4:
You will need garden clippers or a similar tool to cut the sticks. If you are a young person doing this, please ask for adult help.
Now you will need to select the sticks that will hold your journal together. These sticks will be the spine. Look for two sticks that are about the same diameter, firm and fairly smooth. Measure and cut them to the same length as the cover and pages.
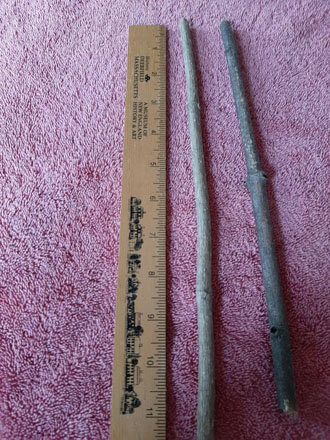
Choose the sticks you will use for binding your journal.
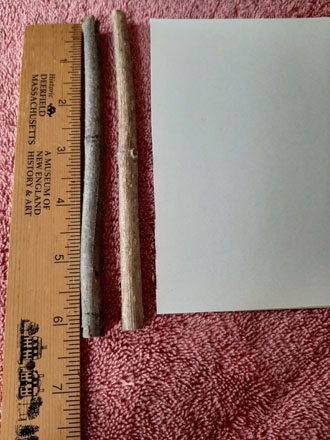
Measure and cut the sticks to the desired length.
Step 5:
You will need the paper punch, a ruler, and a pencil. The photos will help you to understand the steps, so be sure to look at them. Use the ruler to measure, and the pencil to mark the spot where you will punch three holes in the paper, about half an inch from the edge of the paper. The paper should be firmly held together so it does not get out of alignment. We used paper clips to hold the sheets of paper together. Now punch the holes.
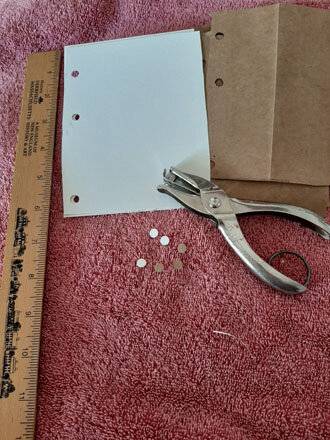
Punch the holes in the covers and the pages after measuring.
Step 6:
You will need twine (ribbon is also fine) and the sticks you have measured and cut. Place the pages of the journal between the top and bottom covers. Cut three pieces of twine about eight inches long. Thread one piece of twine through each of the holes. Put one stick on the edge of the front cover of the journal so that it is aligned with the holes. Pull the string up through each hole and tie the stick loosely into place.
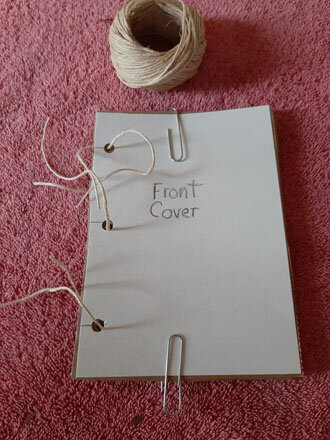
Photo showing the twine looped in the holes as described in Step 6.
Step 7:
Now, you need to turn the journal over to the back cover and slip the second stick into place (this is the point where it is helpful to have two people working together) With the sticks loosely in place along the edge of the front and back cover, you can tie the sticks into place. Double knotting the string will hold the journal spline tightly in place. Please note: this is the trickiest step, so be patient and work slowly and carefully.
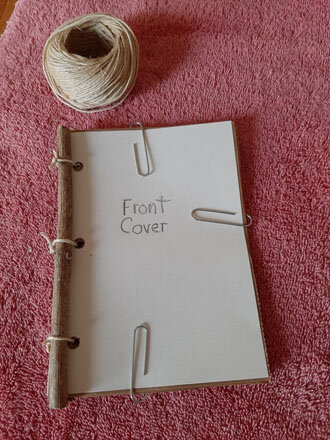
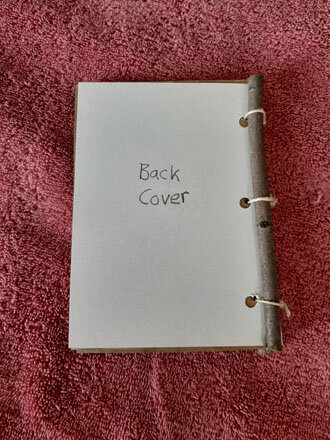
Photos showing Step 7 completed.
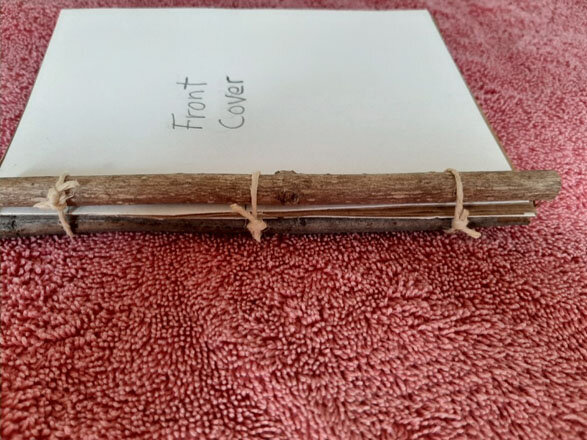
Side view showing the stick bindings tied.
Step 8:
Your journal is finished! You can decorate the cover and think about what you will want to write and draw in your journal.