Created by Historic Deerfield Museum Education Staff Members, Claire Carlson and Faith Deering.
Welcome to Week Three of Maker Mondays from Historic Deerfield. Check your social media feed or look for an email from us every Monday for a fun activity that you can do at home, inspired by history and using common household items.
Download a printable PDF of this activity.
This week’s Maker Monday is inspired by food history and the love of butter and freshly baked buttermilk biscuits.
Introduction:
We hope you have been enjoying our Makers Monday projects. This Monday we want to share a project that will take you into Deerfield’s past AND give you a delicious treat to share with your family. You can be just like a child in Deerfield long ago, enjoying fresh butter on bread, biscuits or crackers.
Deerfield was a farming community so most families grew their own food and raised livestock. Families also bartered and traded for products they did not produce on their own farm. Many families owned a dairy cow. When the cow gave birth to a calf, she produced more than enough milk to feed her calf. The extra milk was made into butter and cheese and used in cooking.
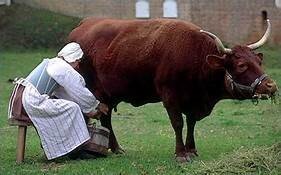
Colonial families in Deerfield did not have refrigerators so making butter and cheese were good ways to prevent the milk from spoiling. After the cow was milked, the pail of fresh milk was brought into the house and poured into a shallow dish so the cream would rise to the top. In about half a day, the thick cream was skimmed off and poured into a butter churn.
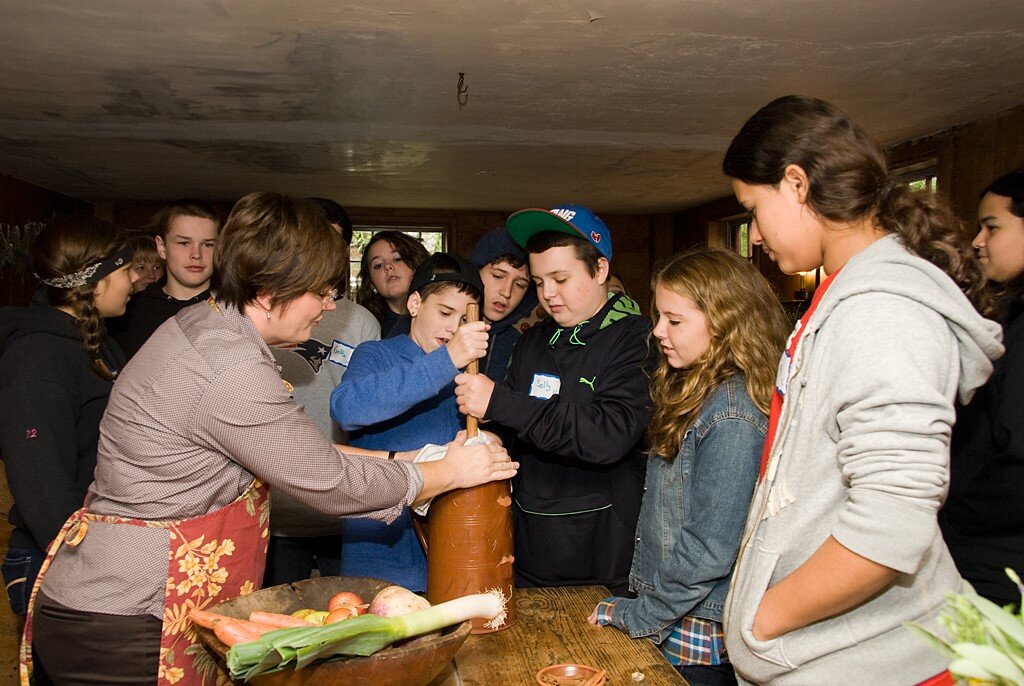
Churning cream into butter is the process of moving cream constantly around inside a churn with a wooden dasher. Churning was often a job for children who would pound the dasher up and down, up and down, and up and down.* Eventually, the fat molecules in the cream would separate from the liquid and begin to clump together. The clump would get bigger and bigger until it finally became butter! The liquid left in the churn was called buttermilk.
When the butter was taken out of the churn, the buttermilk was saved and used in cooking. The butter would be rinsed in cool water to remove any remaining liquid. After that, a small amount of salt was worked into the butter. The salt added flavor and helped to keep the butter from spoiling too quickly. The butter was pressed into a ceramic pot or jar and covered with a clean piece of linen cloth and kept cool in the cellar or well house.
*· The up and down movement of the dasher in the churn is quite rhythmic, as well as being tedious. In an effort to make the job less boring, a rhyme was invented and chanted by children who were churning the butter. The rhyme is very old and has many versions so no one knows exactly when and where it originated. Here is one version:
“Come butter Come
Come butter Come
Peter stands at the gate
Waiting for his buttered Cake
Come butter Come”
When you learn how to make butter in a jar, you could try chanting the butter rhyme, or even better, invent your own chant!
Make your own Butter
You can make butter without a churn by following the steps below. You will need some ingredients and the help of a grown up.
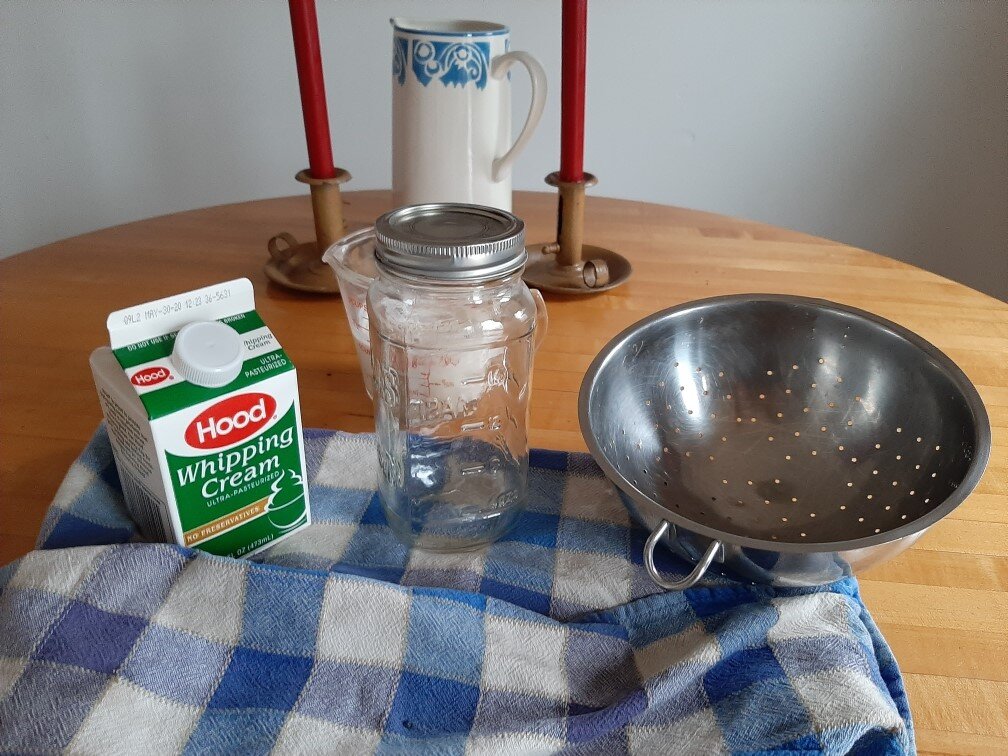
You will need:
1 pint of heavy cream or whipping cream (room temperature is best)
1/8 teaspoon of salt (a pinch) This is not necessary, but most butter you buy has been salted.
2 cup measuring cup
1 clean quart size jar with a tight- fitting lid
A strainer or a sieve
1 bowl
Very cold water, from your kitchen sink
Here are the steps:
1) Pour 1 cup of room temperature cream into a clean quart size jar

2) Screw the lid on the jar very tightly and begin to shake. Shake it vigorously up and down, back and forth until the cream inside gets thicker. You can see this happening and hear the change in the sloshing sound inside the jar. The shaken cream goes through several stages. First, it will become thicker and look like whipped cream. Keep shaking.
3) After approximately 15 to 20 minutes (the time is variable) the whipped cream will begin to thicken into a yellowish clump. This is the beginning of the butter.
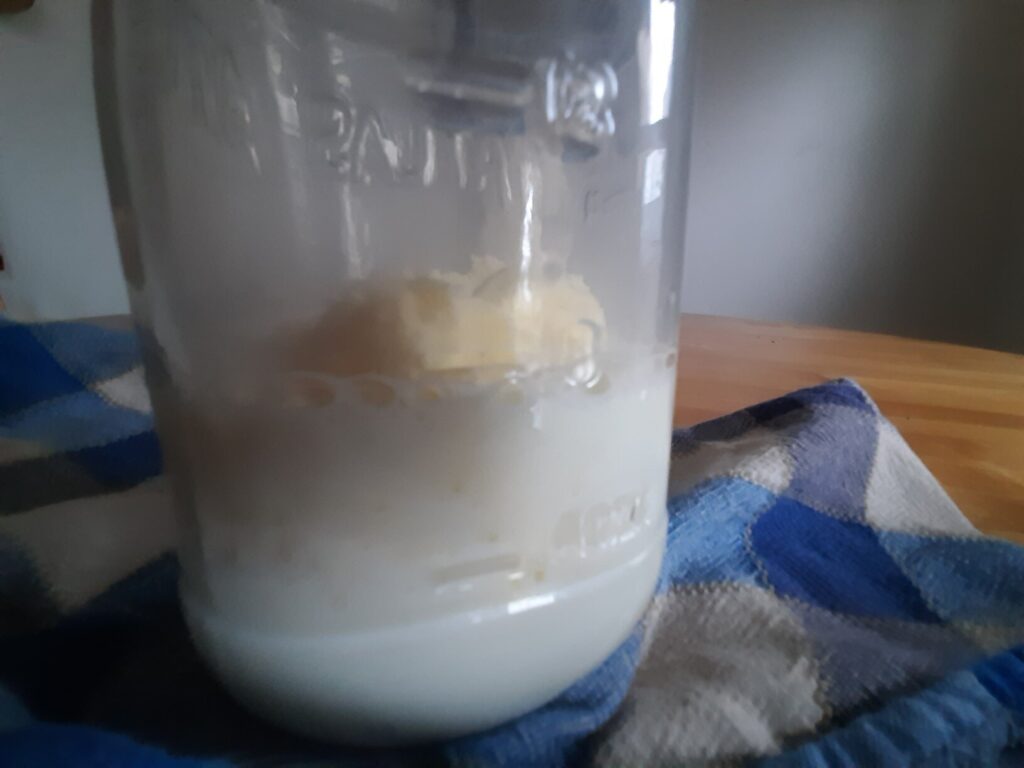
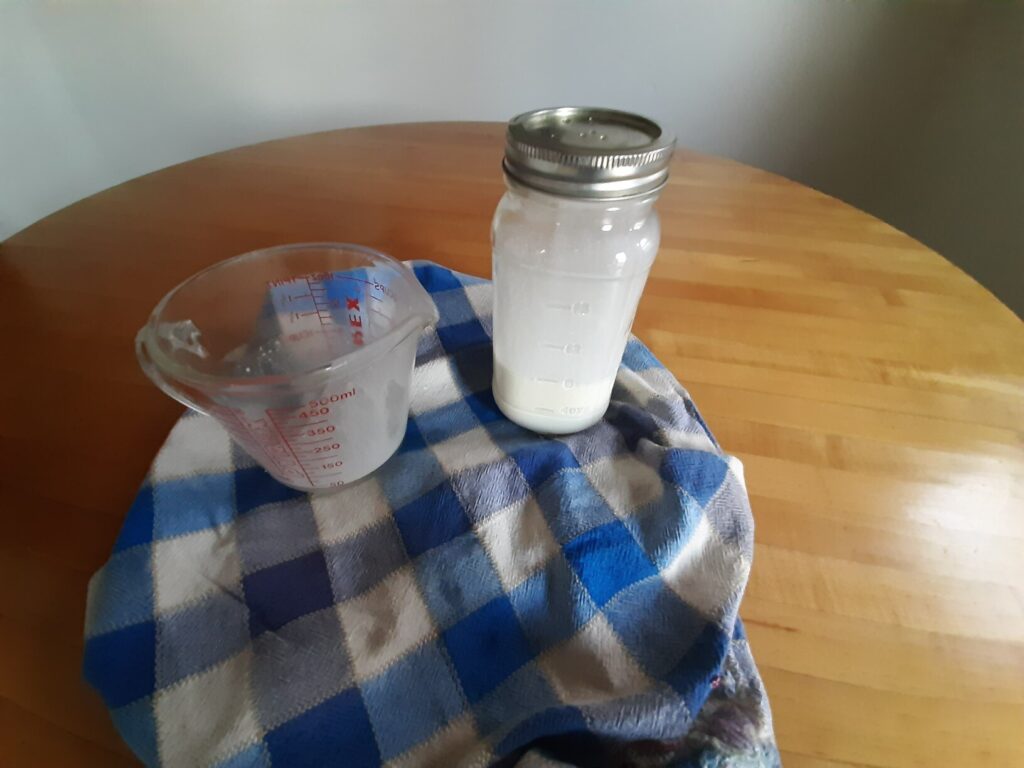
4) Keep shaking and shaking until the clump of butter in the jar holds together. You will see thin liquid surrounding the butter.
5) Pour the butter and the liquid into the strainer you have placed over a bowl. Let the liquid (buttermilk) drain off the butter.
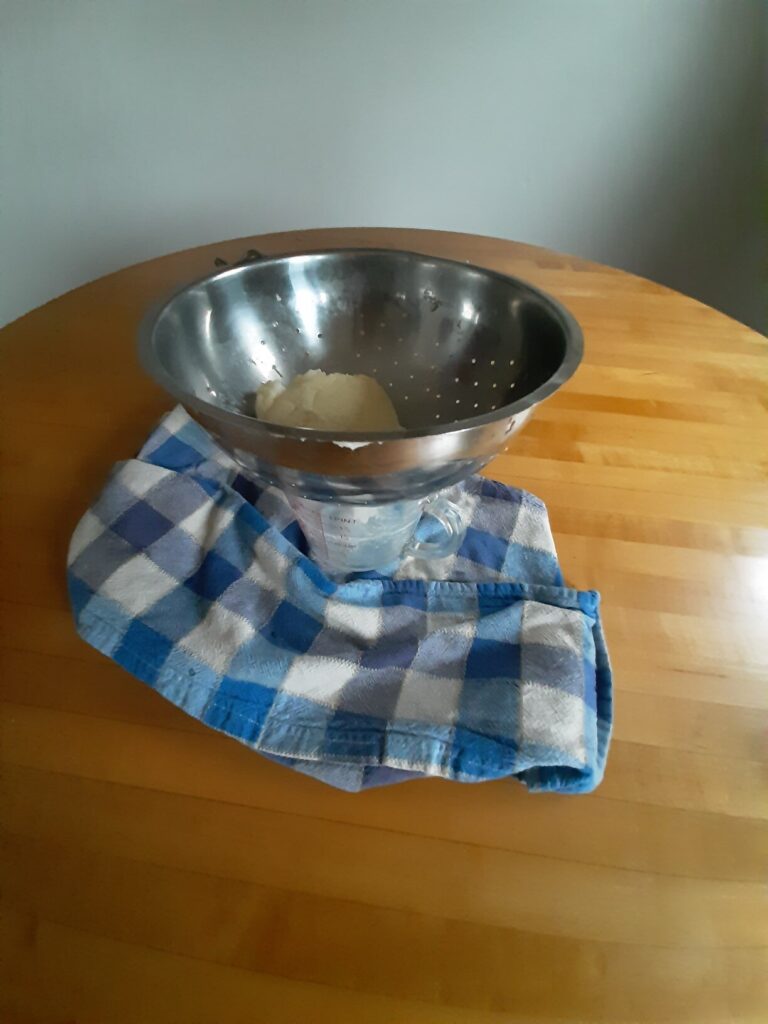
6) Now, you can pour the buttermilk into another container and begin to rinse the butter at the sink with very cold water. Keep rinsing until the butter becomes smooth and cold.
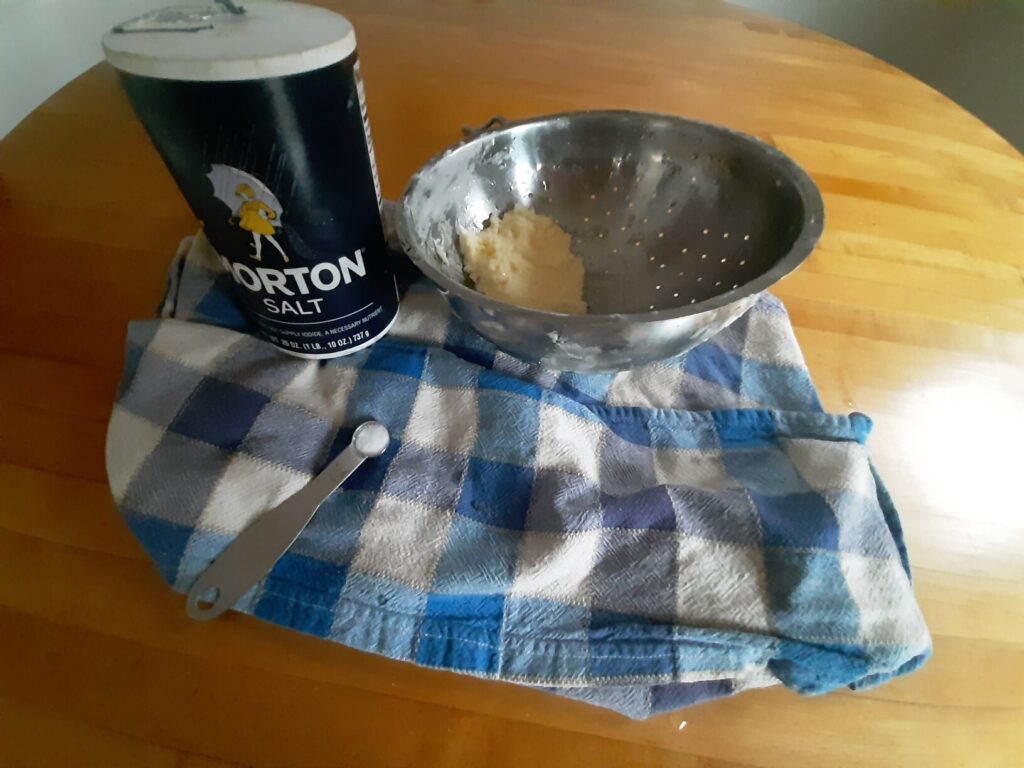
7) The last step is optional. If you want to add salt, this is the time to do it, sprinkle the salt over the butter and work it in with your fingers, mixing it until the salt is completely integrated in the butter.
8) Enjoy your butter! Spread it on a warm biscuit, a slice of bread or a cracker. After you have tasted the butter, you should store it in the refrigerator in a tightly sealed container. It will stay fresh and delicious for about a week, so you should try to use it quickly.

What about the Biscuits?
Many families are using the stay-at-home time to bake. Flour and yeast have been in short supply as families try new recipes for breads, cakes, and cookies. We have called this week’s activity Butter and Biscuits. What is a biscuit? The word biscuit means “twice baked,” and in Colonial New England, a biscuit was a small hard baked-good that was either sweet or plain with no leavening agent to make it rise. In English foodways, a biscuit was what we would today call a cookie or cracker. English folks called these items biscuits or little cakes. Where did the soft and flaky buttermilk biscuit come from?
Baking began to change In the 19th century, when cooks started using new chemical leavenings to make their biscuits, cakes, and cookies rise. These chemical leavenings are common items in today’s kitchens — we know them as baking powder and baking soda. When added to the batter, these leavenings release bubbles as the item bakes, causing it to rise. Quick breads like banana bread use chemical leaveners. Also, Irish Soda Bread gets its name from the leavening it uses to rise: baking soda. Scones and muffins are also good examples. What we now think of as biscuits are a kind of small roll or bun that is often made to go with a meal like stew, soup, sausage and gravy, or ham dinners. If you look up biscuits on the internet, you will find a lot of recipes for “southern,” “buttermilk,” or “beaten” biscuits.
There are many cookbooks from the 19th century that have recipes that use baking soda or baking powder. You can look up recipes in old cookbooks on the internet using Michigan State University’s historic cookbook database. The scholars there have scanned in hundreds of cookbooks for you to look at that date from 1790 all the way through to 1900. Fanny Farmer ran a cooking school in the late 19th century. She wrote The Boston Cooking School Cookbook. The recipe below is from this cookbook. The website for the database is: https://d.lib.msu.edu/fa

This recipe makes fine biscuits. You could try baking these at home, but you might not have lard in your refrigerator. Below, you will find a favorite family biscuit recipe that uses butter instead of lard. Biscuits are very popular and easy to make, so you can easily find many recipes in cookbooks or online. Good luck making your own biscuits.
Faith’s Favorite Family Biscuits
This recipe takes about 15 minutes to make. You should start by washing your hands and preheating the oven to 425. You will need a greased cookie sheet for baking the biscuits
Ingredients:
2 cups of all purpose flour ( plus a little extra )
2 teaspoons of baking powder
1 teaspoon of salt
½ teaspoon of sugar
8 Tablespoons of very cold butter (right from the fridge)
¾ cup of cold milk
Method:
1) In a large bowl mix and sift together, flour, baking powder, sugar and salt.
2) With a fork, or two table knives, slice and cut the butter into the flour mixture. Try to cut the butter into very small pieces, so the mixture looks like rough cornmeal
3) Shape the flour mixture into a mound in the bowl. Make a small hole in the mound and slowly pour the milk into the flour. Mix the flour and milk together with the fork, then use your fingers to start kneading the flour and milk together. Work the dough until it holds together in a ball. If it is too sticky, add a little extra flour.
4) Take the dough out of the bowl and put it on wax paper, or on your counter with a little four. Shape the dough into a flat circle ( not too thin) and use a biscuit cutter or a cup to cut circles from the dough.
5) Carefully put each dough circle on the greased cookie sheet. Be sure to leave a space between each circle. Put the cookie sheet in the oven for about 12 minutes. You will know the biscuits are done when the tops turn light brown. Use an oven mitt to remove the tray when the biscuits are done. They are delicious to eat when they are still warm!